3 hours
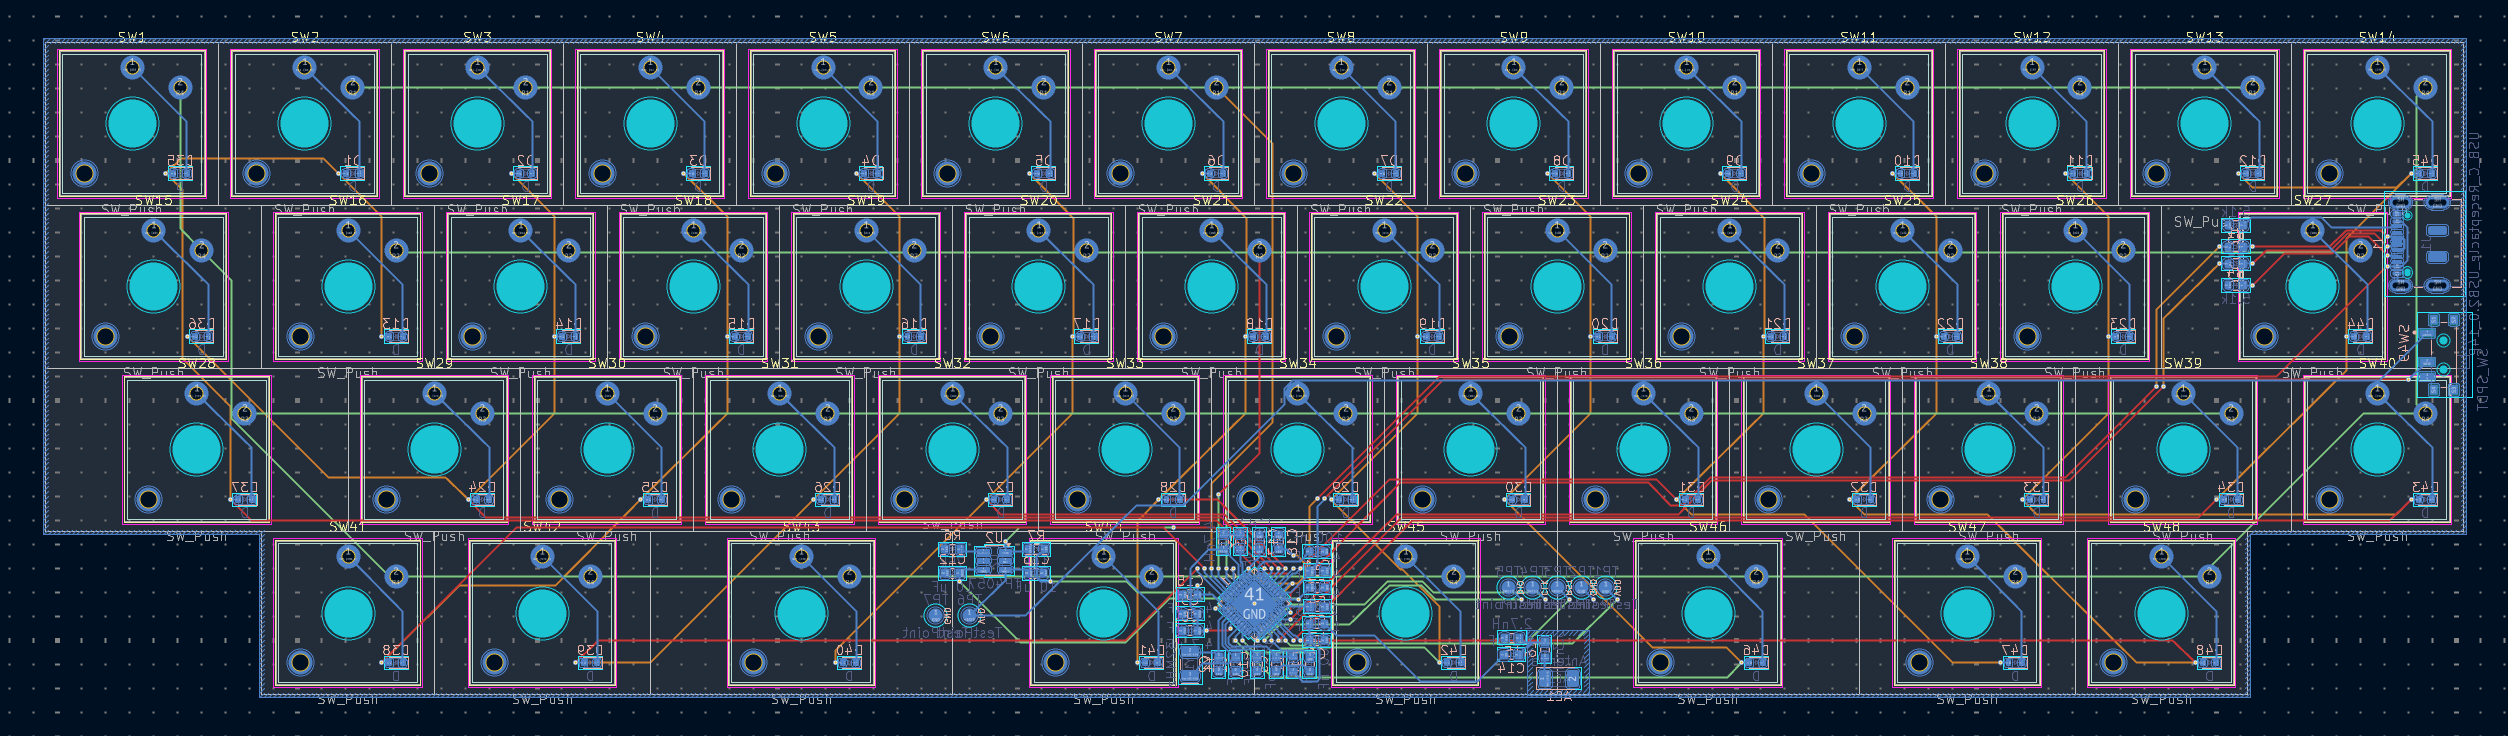
I routed the PCB for my keyboard.
The first step was just laying out all the keys. As with a normal keyboard, most of the keys are 1us with a few larger keys on the side. However, an odd feature of this keyboard is the spacebar, which is made up of 4 1.75u keys. I did this to avoid having to use stabilizers, and to add a bit of uniqueness to the keyboard’s design, since other than that, the layout is basically the same as the Monokei Neko.
In the bottom middle, I put the nRF chip and the caps, resistors, and inductor it needs. The wiring is pretty complex, but I was able to use vias to provide an easy way to get the column/row pins out, along with a few other ones.
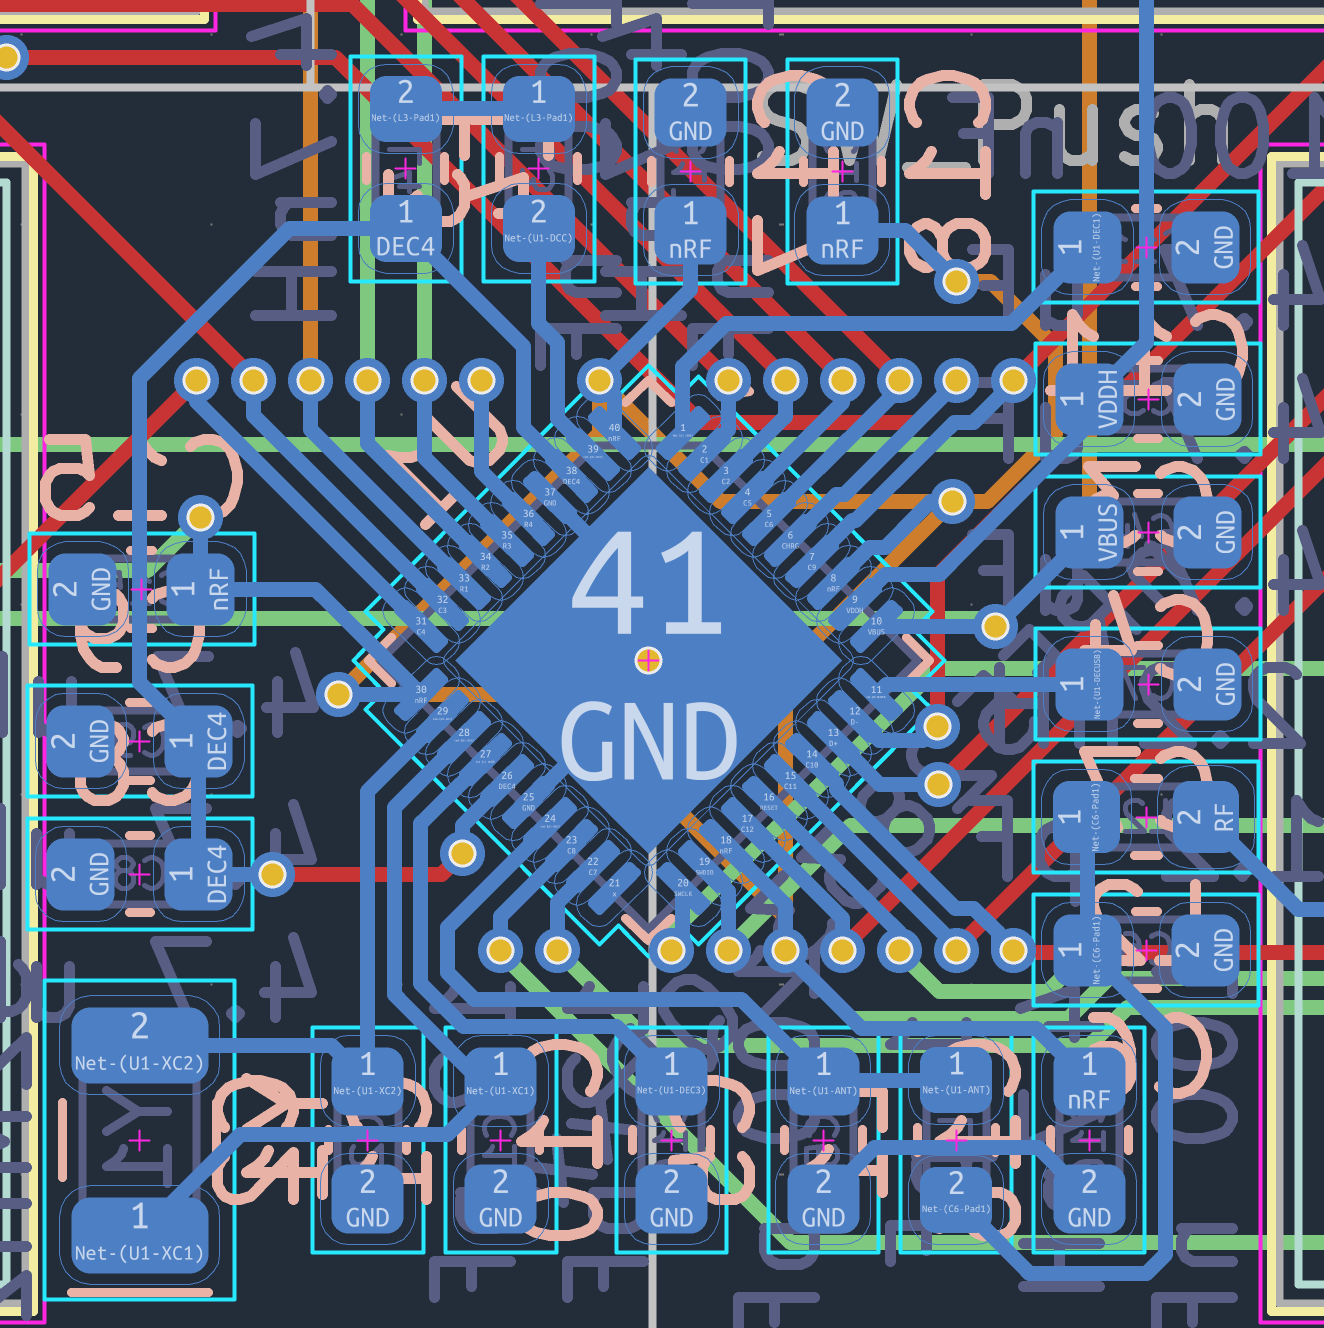
To the right, I put the antenna, with its necessary inductors and keepout zone. It took a bit to get this right, since I made extra sure that the layout corresponded with the manufacturer’s diagram.

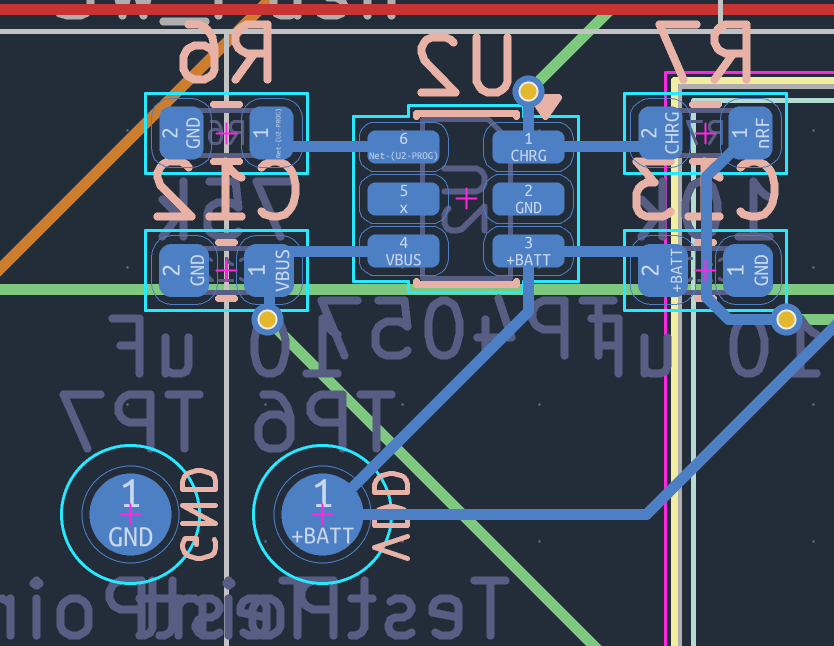
To the left of the nRF chip, I put the battery pads and its TP4057 charger.
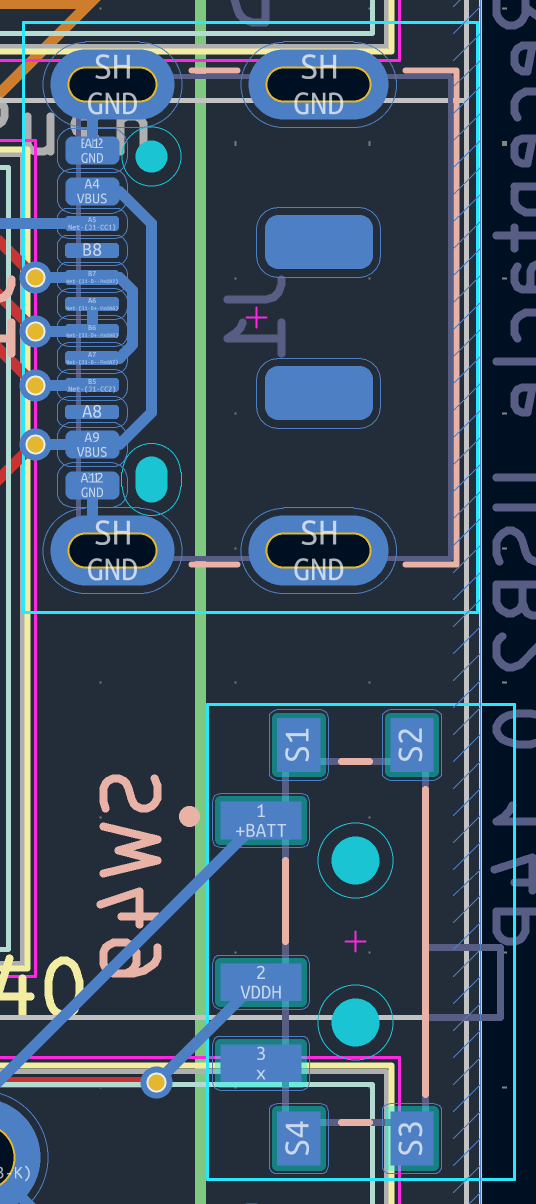
On the right side of the PCB, I put the USB-C port and the switch for having the battery connected.
Most of the complexity just came from the many different overlapping traces, but I’m pretty happy with how the PCB turned out.